
Fixing a VW Passatt door lock
My problem
The following is based on a successful attempt to deal with a lock which jammed while the key was horizontal and could not be removed. As a side-effect, all doors were left unlocked and the windows all open!
First lesson: Always carry a spare key. This enabled the car to start and the window close buttons to work.
As usual, the Internet was helpful and Google led to this YouTube video (thanks, "Lil306") which pointed me in the right direction. Ebay led to a kit of parts from "osco_ltd" which arrived by post in two days.
Basically, a small component at the rear of the actual cylinder (the bit the key goes into) had broken and jammed. I gather that sometimes breakage of a part may instead permit the key to turn all the way round. It should only turn a quarter circle in either direction.
Note that the problem was with the driver's door on a right hand drive car (1997 model) and that the repair kit needs to be for the correct door.
Enough said. Now for the action.
Remove the cylinder
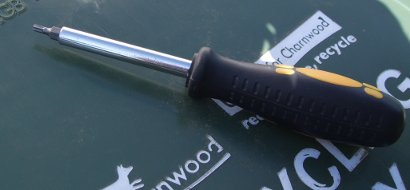
This requires a Torx screwdriver. These have a star shaped end rather than a flat or cross-head. You need a "T20" size. Torx screwdriver bits (like the one here) are often included in tool kits with interchangeable bits:
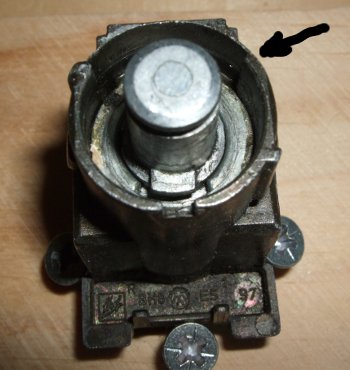
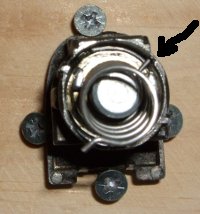
Open the door and remove a rubber bung from a hole near the edge, just below the level of the handle. Through this hole (shown circled) you can see the end of a bolt with a recess in the middle that the T20 will fit into:
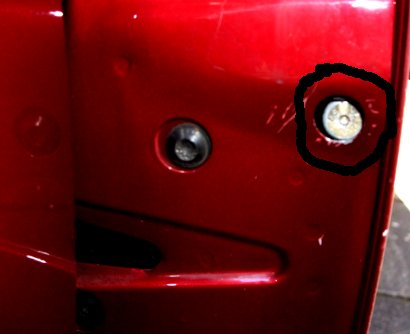
Unscrew the bolt as far as possible - it will not come right out.
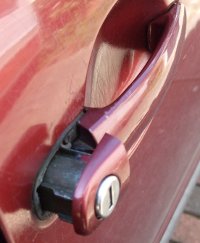
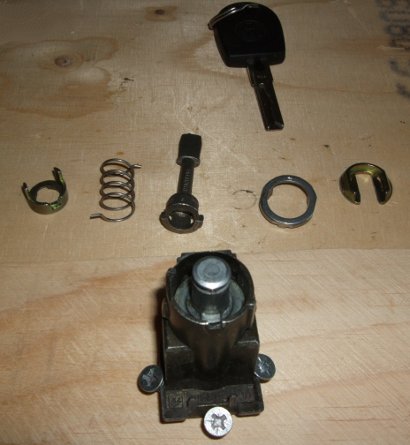
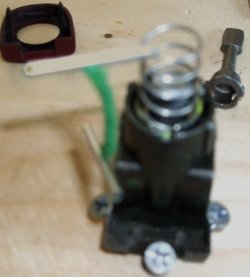
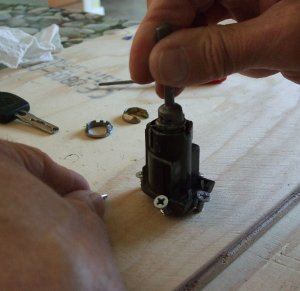
Pull the door handle slightly out and the ease out the cylinder unit:
ending up with the cylinder in its housing and the "paddle" which connects to it:
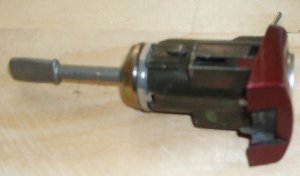
(My key was still stuck in at this stage and the key hole slot was at a right angle to position shown here. These two pictures were actually taken after re-assembly.)
Now move to a work bench.
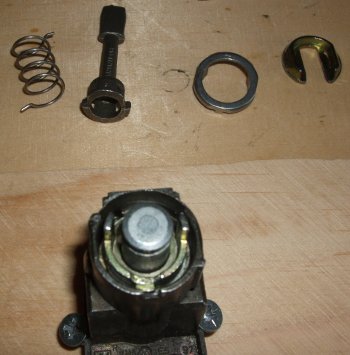
Dismantle
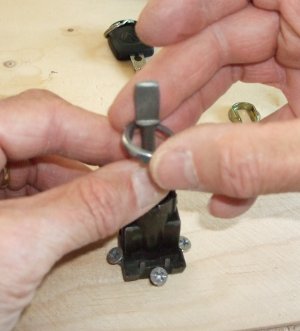
Slide out the circlip: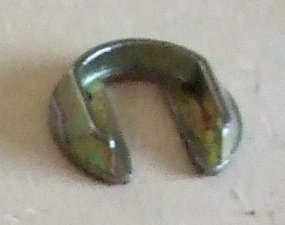
This releases the paddle and two other components (possibly broken) and a spring. The key should now turn and should be removed, '''leaving the cylinder that it turns in its housing'''. Pulling the cylinder out may give you other problems as tiny locking components fall or fly out.
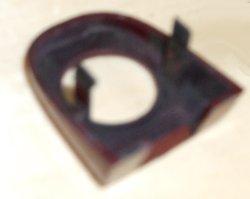
Unclip the trim:
Preparing for assembly
To help avoid problems during assembly, screw the barrel (in its housing) key-hole end down to a bench of piece of scrap wood to hold it steady:
The picture shows how I did this. It also shows the five new components from the repair kit. We will call these the castle, the spring, the paddle, the collar and the circlip.
Assembly
Note here the shoulder against which the lower end of the spring will (later) rest:
Take the "castle" and fit it as shown:
Insert the spring with the lower end projection against the shoulder:
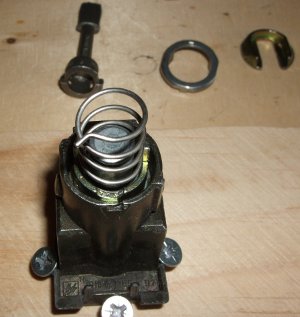
Now for the tricky bit. The spring needs compressing and the top projection latching on to the castle upstand while the bulbous end of the "paddle" is inserted, followed by the collar and circlip. The YouTube video shows how this can be a problem. Tips: wear safety goggles and make sure that if the parts fly off in all directions you will be able to find them!
I found that a small tube slotted over the spring projection helped greatly at this stage. Fingers, used alone, may get hurt and trying to use fine noised pliers failed. The "tube" I used was the end of a "treasury tag", as shown.

Holding the end of the spring and rotating it away from you use the paddle to compress the spring until it is held in place:


Keep holding the paddle and spring down and slip the collar down into place:

Still holding the paddle down, slide the circlip in place to hold things together:


Wow! You did it. Now test it with the key, clip on the trim and then re-fit in the car door.
Use of this material

The above was researched and written by Richard J Bowers (richard at nomaz dot co dot uk) and is made available for free use under a Creative Commons Attribution-ShareAlike 3.0 Unported License. It is provided in the hope that it will be useful, but no liability can be accepted so use at your own risk - or else ignore this material entirely.